In a nutshell
- 🔥 A frying pan’s direct contact heat evaporates moisture fast, triggers the Maillard reaction, and prevents soggy bottoms far better than hot air in an oven.
- 🧭 Method: preheat cast iron/carbon steel to medium-high, no oil; place pizza and press for full contact; sear 1–3 minutes; add a teaspoon of water at the pan’s edge and lid 20–30 seconds—or grill briefly—for top melt with a crisp base.
- 🧪 Science: as the base hits 100°C, water turns to vapour, starches set, and the surface browns; conduction accelerates this. Manage wet toppings (pat-dry or pre-sauté) for consistent crunch.
- 🍳 Pan and heat: cast iron or carbon steel give the best sear; heavy stainless works with thorough preheat; non-stick needs medium heat. Listen for a steady sizzle and avoid smoke.
- ⏱️ Practical wins: revive leftovers or finish homemade pies in minutes; rest cold slices briefly, space pieces, and toast the rim. Goal: dry the base fast, melt the top gently.
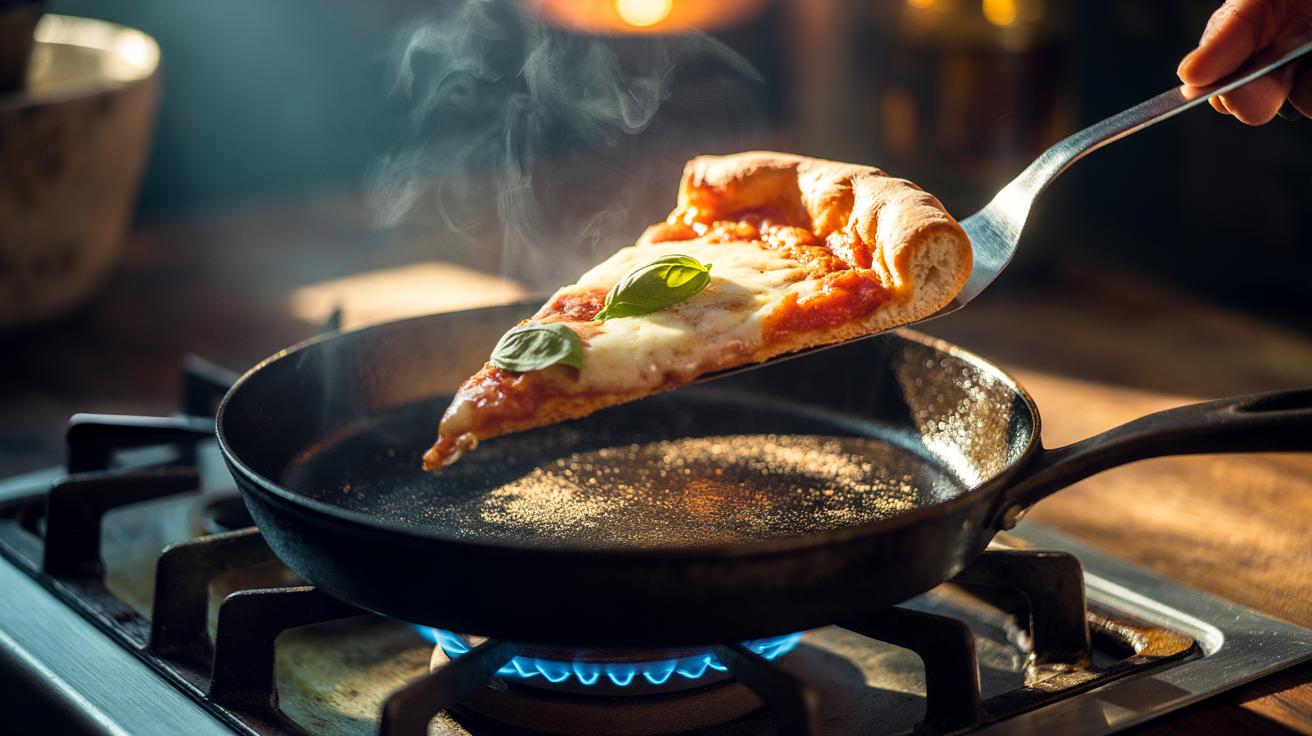
There’s a simple, stove-top fix for the tragic soggy-bottom pizza: the frying pan. It’s fast. It’s precise. It gives you control an oven simply can’t match in minutes. By pressing the crust against fierce, even thermal conduction, a pan drives off excess moisture while encouraging browning where it matters. Cheese stays molten, toppings warm through, and the base turns crisp without becoming brittle. The trick is direct contact heat and a few tiny tweaks that make a huge difference. Whether you’re reviving last night’s takeaway or finishing a home-baked pie, this method avoids disappointment instantly and reliably.
Why a Frying Pan Beats the Oven for Crispness
The oven heats air. A pan heats the crust. That distinction matters. Air is a poor conductor; it dries slowly and unevenly. A heavy frying pan delivers concentrated energy straight into the dough, evaporating surface water where sogginess hides. Contact heat lifts the base beyond the threshold for the Maillard reaction, those delicious brown notes that signal snap and flavour. Ovens can crisp, but they do it gradually; the crust often steams in its own juices before it ever dries. A pan skips the waiting. It targets the weak link.
Lay the base on hot metal and you create an escape route for moisture, not a sauna. That pathway is why the slice firms up in moments. You’re also less likely to overcook the top while chasing crunch below, because the heat is focused on the underside. With a quick lid-on finish or a grill blast, you can melt cheese without softening the base again. That two-stage control—bottom sear, brief top melt—delivers balance: a crisp base, tender crumb, and glossy cheese.
Step-by-Step Method for Searing Out Sogginess
Preheat a dry cast iron or carbon steel pan over medium-high until a drop of water skitters. No oil. Oil fries the crust surface before moisture can vent, trapping steam. Slide in your slice or whole pizza; if whole, work in halves. Press gently with a spatula to ensure full contact. Listen: a faint, steady sizzle is your soundtrack to crispness. After 1–2 minutes, peek—lift an edge. You’re hunting for a deep gold and tiny, glassy blisters.
Want the top hot and cheese glossy? Add 1 teaspoon of water to the bare metal at the pan’s edge, not under the pizza, and clap on a lid for 20–30 seconds. The micro-steam warms toppings without rehydrating the base because the bottom remains sealed to hot metal. For a bigger pie, finish under a hot grill for 45–60 seconds, keeping the pan heat on low to retain the bottom’s crunch. If you’re cooking from raw dough, par-bake the base first or dock it to prevent bubbles, then pan-sear at the end for the signature crackle.
Heat, Moisture, and the Science of Crunch
Crispness is chemistry. As the base warms past 100°C, free water turns to vapour and escapes through the porous crumb. Once the surface dries, sugars and amino acids kick off the Maillard reaction, building flavour and colour. Starches gelatinise, then set into a fragile lattice that shatters when you bite. The pan accelerates all of this because conduction is brutally efficient compared with hot air. Soggy happens when trapped moisture never finds a way out before the cheese starts to slump and the toppings bleed.
Pan technique solves the bottleneck. Direct heat pushes vapour outward through the base instead of letting it condense back into the crust. Toppings with higher water content—mushrooms, fresh tomatoes, mozzarella—benefit from a brief pre-sauté or a pat dry, but even without that, the pan’s hotspot buys you forgiveness. The lid-on splash step adds just enough ambient humidity above to reflow cheese while the underside stays crisp, because the contact patch continues to bake off moisture. Think of it as two zones: dry sear below, gentle heat above. The outcome is audible: tap the rim, hear the tick.
Choosing the Right Pan and Heat Settings
Pan choice shapes results. Cast iron and carbon steel are ideal: they store heat and deliver it evenly. Stainless works if it’s heavy and preheated well. Non-stick can manage medium heat but is less crisp-friendly due to lower surface energy and heat tolerance; keep it under manufacturer limits. Aim for medium-high to start; you want a quick sear without scorching flour. Adjust by ear and nose—steady sizzle, toasty aroma, no smoke. If smoke appears quickly, you’re too hot; if there’s silence, you’re too cold. Keep slices spaced so steam can escape.
| Pan Type | Heat Setting | Time to Crisp Base | Notes |
|---|---|---|---|
| Cast Iron | Medium-High | 1–3 minutes | Best sear, excellent heat retention |
| Carbon Steel | Medium-High | 1–3 minutes | Faster response than cast iron |
| Stainless (heavy) | Medium to Medium-High | 2–4 minutes | Preheat thoroughly; watch hotspots |
| Non-Stick | Medium | 2–4 minutes | Lower max heat; mild crispness |
For day-old slices, a minute of counter rest reduces chill and speeds crisping. For thicker, Neapolitan-style rims, tilt the edge to the pan for 10 seconds to toast the cornicione. Finish with a drizzle of olive oil or chilli honey off the heat so the base stays snappy. The goal is simple: dry the base fast, melt the top gently.
In the time it takes your oven to preheat, a frying pan can resurrect a limp slice into a triumphant, crackly-bottomed marvel. It’s a small, almost cheeky kitchen hack that feels like a trade secret because it is: manage heat and moisture at the base, and everything above falls into place. Once you hear that crisp tap and taste the clean snap, you won’t go back. What will you try first—reviving last night’s margherita, or finishing a homemade pie with a pan-seared, pub-worthy crunch?
Did you like it?4.5/5 (25)