In a nutshell
- 🍞 Quick fix: Revive stale bread in ~10 minutes using a cut onion as a mini humidifier; restores soft crumb and crisp crust with targeted steam.
- 🔬 Science: Combats starch retrogradation by gently rehydrating and warming the crumb; brief dry finish resets the crust; balances water activity.
- 🧪 How-to: Oven at 160°C (fan 150°C) with a foil tent and onion nearby—6–8 min steam + 2–3 min crisp; microwave 10–20 sec covered, rest, then quick toast.
- 👃 Taste & safety: Expect a light savoury aroma; best for rustic, wholemeal, or rye; avoid mouldy bread, don’t store with onion, and remember onions are toxic to pets.
- 🔁 Alternatives & when to skip: Try a water spritz, air fryer, or apple/celery in a bag; skip for sweet/glazed loaves; repurpose very stale bread as croutons, panzanella, or breadcrumbs.
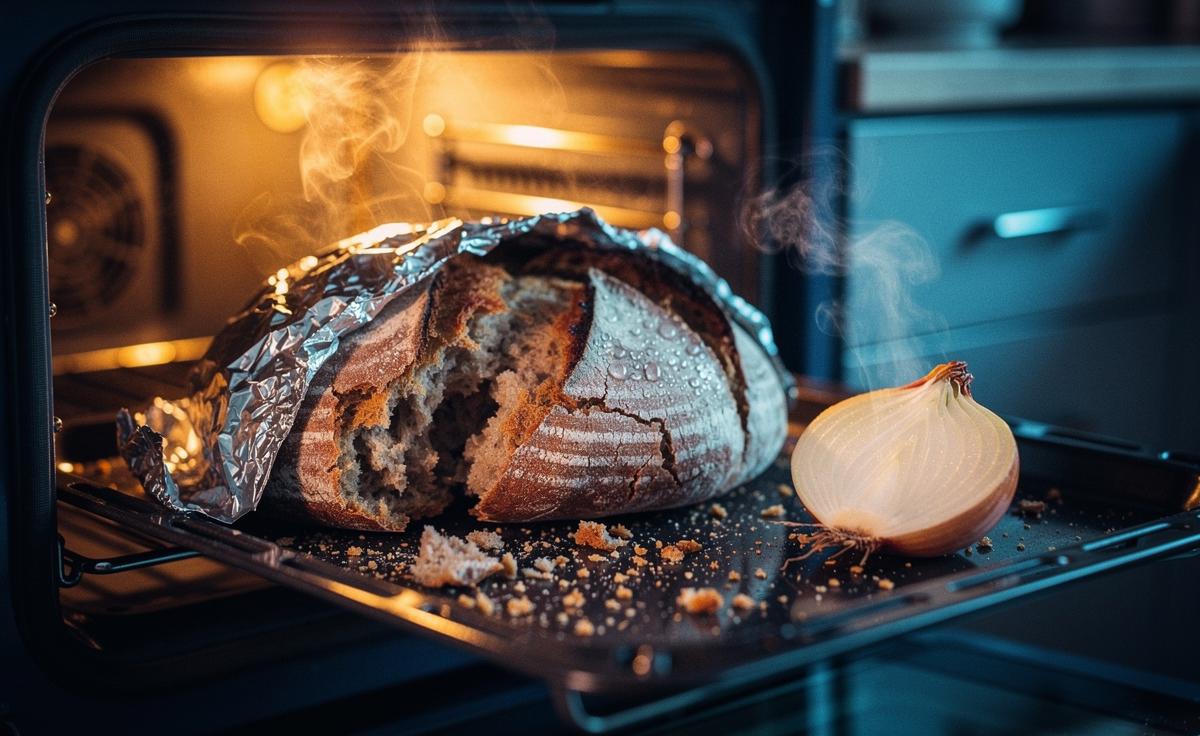
Stale loaf on the counter, dinner looming, no time to dash to the shop. Here’s a clever fix that feels like a magic trick but sits squarely in kitchen science: place a cut onion near your bread and use a little heat to reawaken the crumb. In around ten minutes, you can reclaim softness and a whisper of bakery freshness without drowning slices under a tap or overbaking them to shrapnel. It’s fast, low-effort, and gentle on both crust and crumb. Better yet, the method keeps waste down and flavour up. With a few small tweaks, you’ll steer aroma, texture, and crispness exactly where you want them.
Why Onion Works in Ten Minutes
Staling isn’t about bread “drying out” alone; it’s driven by starch retrogradation, where gelatinised starch chains recrystallise as the loaf cools and sits. The crumb turns firm, moisture migrates unevenly, and the crust loses snap. To reverse it, you need controlled heat and a little water. Onion happens to be packed with moisture—around 89%—and when warmed, it releases a light veil of steam and aromatic volatile compounds. Together they relax those stiff starch crystals, softening the crumb quickly while rebalancing the bread’s internal humidity.
That explains the speed. In a warm, semi-enclosed environment, onion behaves like a tiny humidifier, bathing the loaf in just enough moisture to coax springiness back without sogginess. The vapours also mask the slightly cardboardy aroma of stale bread, a sensory lift that’s noticeable even before the first bite. Crucially, we’re not boiling or soaking: the goal is a brief, targeted burst that re-gelatinises starch at the surface layers, then a short finish to dry and crisp the crust. Straightforward. Precise. Reversible if you overshoot—just a minute or two less next time.
Step-By-Step Method: From Stale to Springy
For a small loaf or several slices, heat the oven to 160°C (fan 150°C). Cut an onion in half. Put the bread on a tray and set the onion half, cut-side up, nearby—not touching. Tent loosely with foil to trap humidity, leaving a thumb-width gap for gentle circulation. Bake for 6–8 minutes, then remove the foil and give the bread another 2–3 minutes to crisp the crust. Do not press the onion onto the bread; the aim is vapour, not juice. If the loaf is very dry, mist the crust lightly with water first, then proceed.
Microwave option for slices: place bread in a microwave-safe container with a small onion wedge, cover, and zap for 10–20 seconds. Rest covered for 30 seconds to equalise moisture, then toast briefly to restore surface crunch. Tip: If you’re aroma-sensitive, swap onion for a shallot or keep the onion further from the bread. The method remains the same—steam first, crisp second.
| Method | Setting | Time | Setup | Result | Best For |
|---|---|---|---|---|---|
| Oven + Onion | 160°C (fan 150°C) | 8–11 min | Foil tent, onion nearby | Soft crumb, crisp crust | Whole or half loaves |
| Microwave + Onion | Medium power | 10–20 sec + rest | Covered container | Soft crumb, needs toasting | Slices and rolls |
| Bag + Onion | Room temp | 30–60 min | Paper bag, onion wedge | Milder softening | Sandwich bread |
Taste, Aroma, and Food Science Considerations
Onion releases sulphur-based volatiles and gentle sweetness as it warms. You’ll notice a faint savoury note, more bakery-than-bistro if you keep the distance right. Pair this method with breads that welcome savoury cues—country loaves, rye, wholemeal, or seeded batards—and you’ll be delighted. Sweet buns and iced brioche? Probably not the best fit unless the onion is far away and exposure short. If you’re wary, start with a shallot or a small onion piece to dial down intensity.
Technically, you’re nudging water activity in the crumb back into a comfortable range while briefly “melting” those starch crystals. Heat resets structure; a short dry finish restores crust snap. Keep an eye on safety: if the bread shows mould, skip revival and make fresh crumbs only if completely dry and mould-free on inspection. Never store bread long-term with cut onion—condensation encourages spoilage. Use heat, then separate and cool; the trick is a sprint, not a sleepover. Finally, keep onions and revived bread away from pets—onions are toxic to cats and dogs.
Alternatives and When Not to Use the Trick
No onion to hand? Try a spritz of water plus a hot oven, or a damp paper towel in the microwave followed by a quick toast to restore the crust. A slice of apple or celery can lend moisture in a bag over 30–60 minutes, though you’ll lose the rapid, oven-driven reset that makes the onion method so punchy. Air fryers also excel: brief steam effect from the onion, swift drying from the fan.
Skip this trick for glazed pastries, sugar-dusted loaves, or enriched breads where onion aroma might clash. If the bread is leathery right through or more than two days stale, consider a different destiny: panzanella, ribollita, crunchy croutons, or golden breadcrumbs. Revival should enhance, not disguise. The broader lesson endures: small, targeted humidity plus heat is the staling antidote, and you can source that humidity from many kitchen staples—onion just happens to be fast, cheap, and reliably effective.
There’s quiet satisfaction in reclaiming a loaf instead of binning it—and in understanding the science behind that softness. With a cut onion and a little heat, you can rehydrate the crumb, refresh the crust, and steer aroma to taste, all in the time it takes to set the table. It’s a practical, low-waste habit that quickly becomes second nature. Which breads in your kitchen will you revive first—and how will you tweak distance, time, and heat to make the method your own?
Did you like it?4.5/5 (22)