In a nutshell
- ⚡ Paper towel method speeds germination by 2–5 days through consistent moisture, abundant oxygen, and steady warmth, while giving visibility to discard duds and reduce losses from overwatering.
- 🧰 Follow a clean, simple setup: sterilise containers, make towels moist, not wet, space seeds, label and seal, keep warm, and check daily; lift sprouts gently with tweezers and prepare fine seed compost in advance.
- 🌡️ Nail conditions: tomatoes 22–25°C, peppers 26–29°C, lettuce 16–20°C; use a thermostat or warm nook, refresh air if condensation builds, and prioritise hygiene with fresh towels and a very weak peroxide mist if needed.
- 🛠️ Troubleshoot smartly: tweak warmth and moisture if seeds stall, try scarification for hard coats, use cold stratification in the fridge for certain perennials, and remake setups at the first sign of mould.
- 🪴 Transplant on time: move at 0.5–1 cm radicle with root down, keep in bright, indirect light, label pots, and begin dilute feeding after true leaves form for uniform, vigorous seedlings.
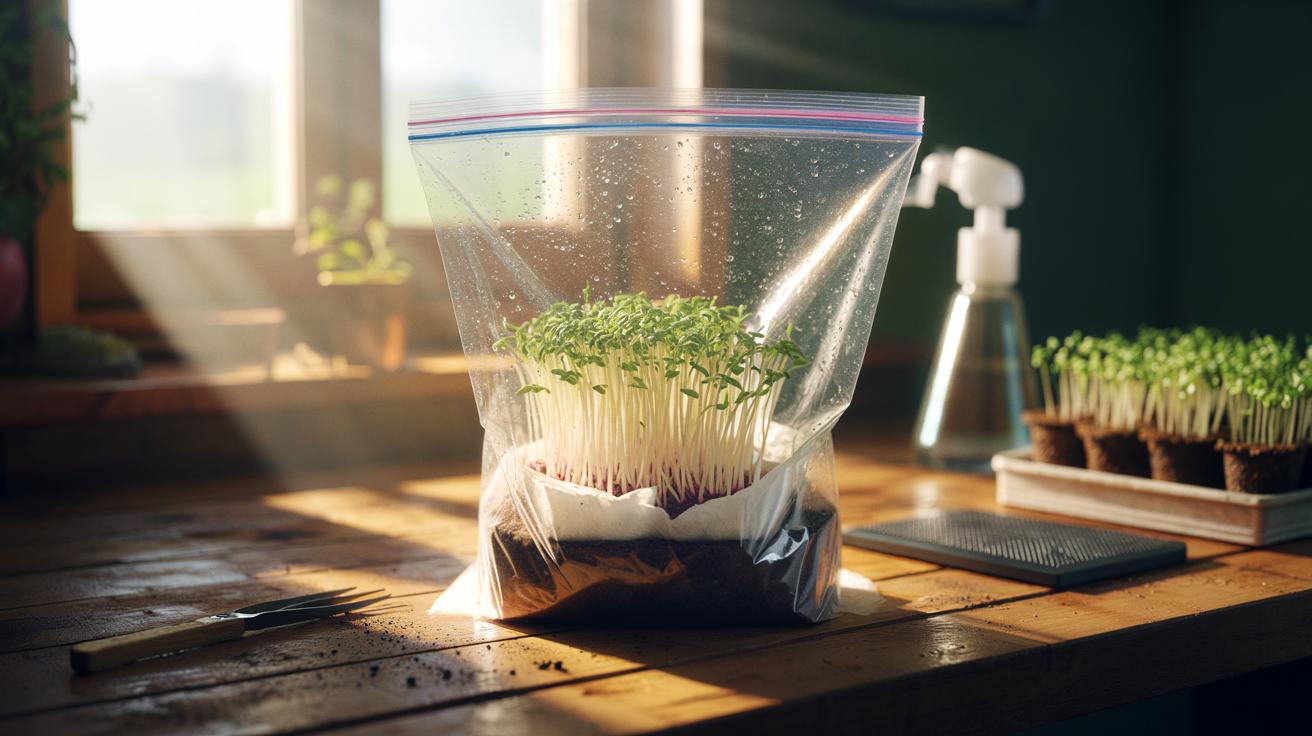
Every impatient gardener has faced the same wait: seeds tucked into compost, nothing to see, days ticking by. There’s a faster route. The classic paper towel method creates a controlled microclimate that coaxes seeds to wake sooner, with fewer variables and more visibility. Using clean paper towels, a resealable bag or lidded tub, and the right touch with water and warmth, you can encourage sprouting several days ahead of soil schedules. It’s simple, cheap, and astonishingly effective for tomatoes, chillies, lettuce, peas, and dozens more. You also get a bonus: immediate confidence about seed viability before you commit compost, pots, and space.
Why Paper Towels Accelerate Germination
The paper towel method gives seeds the trifecta they crave: consistent moisture, abundant oxygen, and steady warmth. Soil can create patchy wet zones and compacted pockets that starve a seed of air. Towels, by contrast, cradle the seed while leaving micro-gaps for gas exchange. Water is wicked evenly across fibres, encouraging rapid imbibition—the first stage when a seed swells and metabolism kicks back into gear. By reducing physical barriers and keeping conditions stable, many crops shed two to five days off their usual wait.
There’s also the advantage of transparency. You see the exact moment the radicle appears, so you transplant at the right time and avoid sowing duds. Seeds with hard coats, like sweet peas, also soften more uniformly. The paper towel acts as a buffer against temperature swings too, especially if kept in a slightly warm spot such as the top of a fridge or on a low heat mat.
And because towels hold water but drain freely, you’re far less likely to suffocate seeds through overwatering. That single difference—moist, not sodden—prevents countless failures.
| Crop | Typical Soil Germination (days) | Paper Towel Range (days) | Ideal Temp (°C) |
|---|---|---|---|
| Tomato | 6–10 | 3–5 | 22–25 |
| Chilli/Pepper | 10–21 | 5–10 | 26–29 |
| Pea | 7–14 | 3–7 | 18–20 |
| Lettuce | 7–10 | 2–4 | 16–20 |
| Basil | 5–10 | 2–4 | 22–25 |
Step-by-Step Method: From Dry Seed to Sprout
Start clean. Wipe your work surface and hands, and if you’re reusing tubs, rinse and sterilise them. Cut a paper towel to fit your container, mist with room‑temperature water, and wring or press until it’s moist, not wet. Lay seeds on the towel with a little space between each, then fold or place a second damp towel on top to sandwich them. If water drips when you press, it’s too wet.
Slide the towel into a labelled bag or lidded tub. Add the date and variety—future you will be grateful. Seal most of the way, but leave a sliver for air exchange if condensation is heavy. Now pick a warm, stable spot: a propagator, airing cupboard with a thermometer, or a shelf above a radiator (not on it). Warmth speeds enzymes, but scorching halts them, so aim for the crop’s ideal band.
Check daily. You’re watching for the first white tip of the radicle. At that moment, prepare pots filled with pre‑moistened, fine seed compost. Do not yank sprouts from the paper—lift with tweezers or the corner of the towel to avoid snapping delicate roots. If a towel clings, mist lightly to loosen fibres before moving the seedling.
Choosing the Right Conditions: Temperature, Moisture, and Hygiene
Temperature is the accelerator pedal. Tomatoes and basil sprint at 22–25°C, while peppers prefer it hotter. If your home runs cool, a low‑watt heat mat with a thermostat is ideal. Small, steady warmth beats big swings every time. For cool‑loving seeds such as lettuce, keep them out of direct heat and bright light; germination often improves a touch below room temperature.
Moisture management makes or breaks this trick. The towel should feel like a well‑wrung sponge. Puddles encourage mould and suffocate seeds; dryness halts the process just as it’s begun. Use a fine mister, not a pouring can, to top up. Rainwater or cooled, boiled tap water helps if your supply is very hard or heavily chlorinated. If condensation builds, crack the seal for a few hours to refresh the air and curb fungal growth.
Hygiene is the quiet hero. Start with fresh towels, clean containers, and viable seed. Old, compromised seed benefits from a brief pre‑soak (several hours) to jump‑start hydration, but don’t overdo it. Some growers lightly dust towels with ground cinnamon, a natural antifungal. A safer alternative is sparing use of a very weak hydrogen peroxide mist (about 1 part 3% peroxide to 10 parts water). Most early losses come from excess water and poor sanitation, not bad seed.
Troubleshooting and Next Steps: From Germinated Seeds to Transplant
If seeds stall, ask three questions: Is it warm enough? Too wet? Too old? Increase warmth within the safe range, refresh with a new towel at the right moisture, and be patient—peppers can take time even when healthy. Hard‑coated seeds such as sweet peas and nasturtiums may need gentle scarification (nicking the coat) or a brief soak to speed water uptake. Perennials like lavender respond to cold stratification: seal in a damp towel in the fridge for a few weeks before warmth.
Transplant when the radicle reaches roughly 0.5–1 cm. Pot up into holes pre‑made in moist seed compost. Place the seed just below the surface, root down, and cover lightly. Firm gently, then mist to settle. Avoid direct sun on day one; bright, indirect light prevents shock. Handle only the seed coat or leaf edges—never squeeze the root.
Watch for mould as you work. If you see fuzzy growth, remake the setup with fresh towels and reduce moisture. Label every pot with variety and date. Once true leaves appear, begin gentle feeding with a dilute, balanced fertiliser. The reward is a tray of uniform, vigorous seedlings that outpace their soil‑sown peers by days, sometimes a week.
This quick, low‑tech trick gives you data as well as speed: you’ll know which seed lots are vigorous, which are duds, and when to pot up for maximum survival. It’s the closest thing gardening has to a fast‑forward button. With a few towels, a warm nook, and clean habits, you can stack the odds in favour of rapid, reliable germination across the season. Which seeds in your stash are you most keen to wake early, and how will you adapt the setup to suit their quirks?
Did you like it?4.5/5 (29)