In a nutshell
- ✨ Restore shine in 5 minutes using cornstarch as a dry buff to lift oils, footprints, and residue—no waxes or polishes required.
- 🧰 Gather simple tools: cornstarch, a microfibre cloth/pad, a vacuum or soft brush, and a dry mop; sprinkle lightly, buff in circles, then remove thoroughly.
- 🧱 Use on sealed hardwood, laminate, luxury vinyl, and glazed tile; avoid or test on waxed/oiled wood and natural stone; keep it dry to prevent pasty residue.
- 🧪 Troubleshoot haze by reducing powder, re-buffing with a clean cloth, and (for tile) a mild vinegar rinse; on wood, avoid water and focus on dry removal for crisp clarity.
- 📅 Maintain with dry mopping, felt pads, shoes-off habits, and occasional spot-buffs; schedule starch buffs weekly in busy areas and monthly elsewhere.
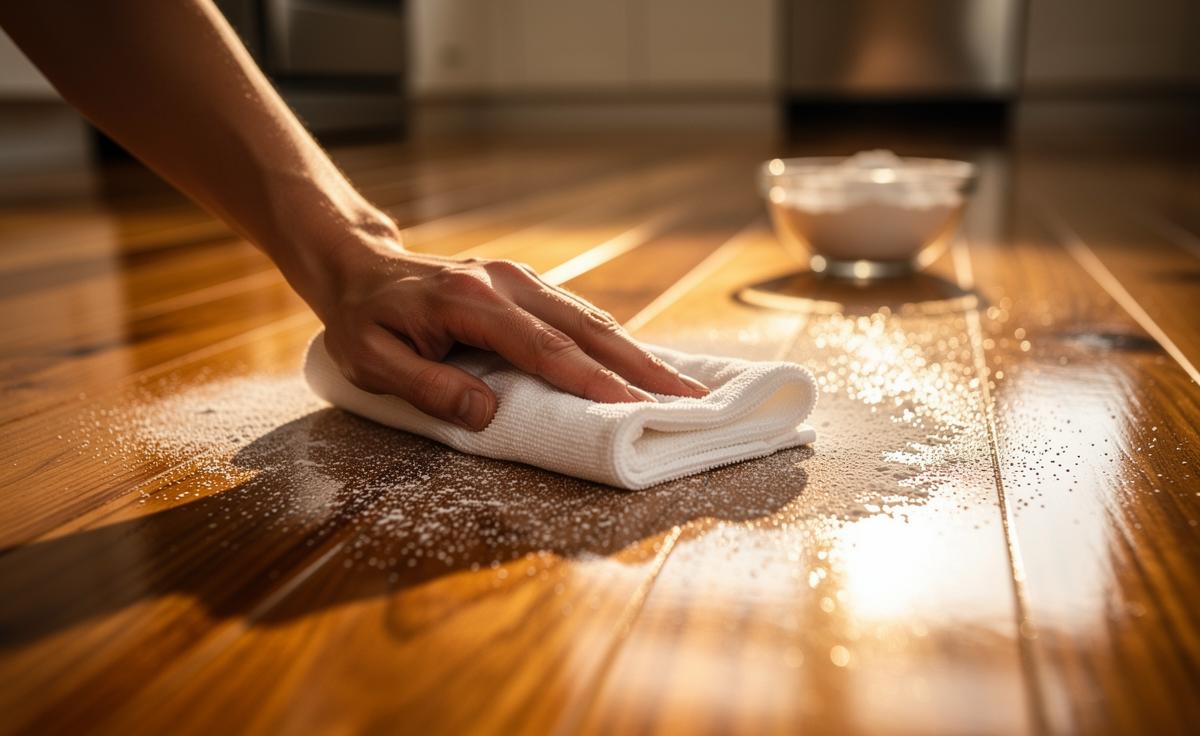
Five minutes. That’s all it takes to bring a tired floor back to life with one pantry staple: cornstarch. This fine, soft powder behaves like a tactical sponge, lifting the film of oils, footprints, and cleaning residue that flatten a floor’s sheen. No sticky polishes. No lingering perfumes. Just a quick buff, a clean microfibre cloth, and a light sprinkle. The result is quietly dramatic: brighter grain on sealed wood, crisper reflections on laminate, a refreshed glow on vinyl. Fast, dry, and safe when used correctly, this is the sort of hack you keep in your back pocket for pre-guest touch-ups and weekday resets.
Why Cornstarch Revives Dull Floors
The secret sits in the starch’s microscopic particles. Each grain is highly absorbent, clinging to oils, skin lipids, and residues that compress light and make surfaces appear matte. During a gentle buff, the powder acts as a dry cleanser: it grabs the film without scratching, then slides free, carrying the problem with it. Think of it as resetting the top layer. It’s not a wax, not a polish—just removal of what shouldn’t be there. That’s why the finish shines again: the true surface, unclouded, reflects light cleanly.
This technique also helps with subtle moisture haze. Cornstarch can wick a fine layer of dampness that often dries blotchy, especially on laminate or vinyl. On sealed timber, it won’t penetrate; it sits on the film and lifts grime. It’s fragrance-free and compostable, so it leaves no chemical trail. The bonus: static reduction. After buffing, floors tend to resist dust for a little while because the chalky residue (properly removed) doesn’t leave a tacky surface. Shine without slip, clarity without coating—a small but meaningful distinction for everyday care.
What You Need and the 5-Minute Method
Gather essentials first. You’ll move quickly, so keep the kit simple and within reach. For a standard hallway or kitchen, you need only a tablespoon or two—oversprinkling wastes time and leaves residue. Light touch wins here. Work in patches the size of a bath towel; that prevents over-dusting and keeps buffing efficient.
| Item | Role |
|---|---|
| Cornstarch | Absorbs oils and residue that dull shine |
| Microfibre cloth or pad | Buffs gently without scratching |
| Soft brush/vacuum | Collects spent powder cleanly |
| Dry mop | Final sweep for a streak-free finish |
Steps: 1) Spot test. Sprinkle a pinch in a corner and buff. If the surface accepts it, proceed. 2) Lightly dust the floor—just a whisper. 3) Using the cloth flat to the surface, buff in small circles, then long strokes with the grain on wood. 4) Vacuum or brush away the greyed powder. 5) Dry mop to restore clarity. That’s it. Do not add water during the process. If you see haze, you used too much; re-buff with a clean, dry cloth and remove the excess.
Surface Suitability, Precautions, and Quick Fixes
Cornstarch works brilliantly on sealed hardwood (polyurethane/varnish), laminate, luxury vinyl, and ceramic/glazed tile. It’s less ideal for waxed wood or oiled finishes, where powders can lodge in pores and mute the patina. Natural stone—marble, limestone, unsealed slate—demands caution; powders may cake in microfissures. Always patch test in low light and view from different angles. If the test area looks dusty after your clean-up, use less powder or switch to a soft, barely damp microfibre for final pick-up. For grout, it’s fine, but vacuum thoroughly to avoid residue lines.
Precautions are simple. Keep it dry. Moistening cornstarch turns it pasty and hard to remove. Avoid rubber-backed mats until you’ve done the final dry mop; they trap dust. On high-gloss piano finishes or acrylic baseboards nearby, cover with a towel to stop drift. Address sticky spots first with a slightly damp cloth and let them dry, then buff. Sprinkle sparingly; more is not better. If you’re managing allergy concerns, choose a mask for the dusting step and ventilate gently—an open window helps without stirring a gale.
Deep Shine Tips and Troubleshooting
If shine still looks flat, the culprit may be product build-up from overzealous cleaners. In that case, use cornstarch as a prelude: buff, remove, then follow with a barely damp wipe of distilled water and a quick dry. For tile, a 1:200 white vinegar rinse afterwards (well-wrung, then dried) can reset mineral haze. On wood, stay dry—water invites swollen seams. If you notice tracks after buffing, you likely missed the final removal pass; re-buff with a clean cloth and vacuum. The floor should feel slick-free, not powdery. Keep separate cloths: one for lifting, one for finishing.
For maintenance, schedule a starch buff only when dullness returns—weekly in busy kitchens, monthly elsewhere. Daily care remains simple: dry mopping to defeat grit that scours shine. Preventive tweaks pay off. Felt pads under chairs. Shoes off at the door. Matting that catches grit without crumbling. If pets add paw smears, a tiny midweek spot-buff works wonders. And if you prefer fragrance, finish with a room spray, never the floor. Shine should come from light, not layers. That’s the aesthetic: clean, crisp, and calm underfoot.
In minutes, cornstarch turns dim floors bright again, restoring that honest, reflective finish without smears, silicones, or slip. It’s quick to learn, cheap to run, and dependable when your space needs to look composed at short notice. Keep the dose light, the motion gentle, and the clean-up thorough. Your floor does the rest. If you try it this week, where will you test first—hallway, kitchen, or that scuffed patch beneath the dining table?
Did you like it?4.6/5 (28)