In a nutshell
- ✨ Baby oil (refined mineral oil) fills micro-scratches, evens light reflection, and delivers a spotless, mirror-like finish in about a minute.
- 🧽 Use the one-minute method: Clean → Dry → Apply → Buff, always working with the grain and applying only a whisper-thin film.
- 💧 The oil’s hydrophobic film repels moisture and fingerprints, making future touch-ups faster and reducing streaks when used sparingly.
- ⚠️ Safety first: avoid food-contact and high-heat areas, keep oil off floors, and patch test coated or lacquered steel; choose unscented or white mineral oil if sensitive.
- 🛠️ Troubleshooting + alternatives: reset residue with vinegar or isopropyl alcohol; consider fractionated coconut oil or pro cleaners, but use minimal product—a little goes a long way.
In the glare of a kitchen spotlight, stainless steel either dazzles or disappoints. Fingerprints, water spots, and greasy smears betray even the sleekest fridge doors and cooker hoods. Here’s the shortcut professionals whisper on shoots and showroom floors: a dab of baby oil. It’s fast. It’s cheap. And it leaves a gleam that looks painstaking, not rushed. Used correctly, this household staple lays down a whisper-thin film that masks micro-scratches and repels fresh marks. Always work with the grain, keep the application minimal, and you can restore that spotless, mirror-like finish in roughly a minute—no special kit, no harsh chemicals, no fuss.
Why Baby Oil Works on Stainless Steel
Stainless steel shines when light reflects evenly from a smooth surface. Everyday use scuffs that surface with fine abrasions, scattering light and making panels look dull. Baby oil—typically a highly refined mineral oil—slides into those tiny valleys. By levelling out micro-scratches, it reduces diffuse reflection and boosts the uniform sheen your eye reads as clean and new. It’s the same optical trick behind certain camera polishes, but here it’s achieved with a product you likely already own.
The chemistry is simple and practical. Mineral oil is hydrophobic, so it helps repel moisture that causes water spotting, and its non-drying nature keeps a thin protective film in place longer than water-based cleaners. That film also makes fresh fingerprints less tenacious, so routine buffing takes seconds next time. Less oil means fewer streaks; you’re aiming for a whisper, not a coat. Crucially, direction matters: always wipe and buff along the steel’s grain to avoid cross-hatching that catches light and spoils the finish.
There are caveats. Some appliances are lacquered or have anti-fingerprint coatings; a patch test on a discreet corner is wise. And while baby oil excels on doors, sides, and kick plates, it isn’t designed for food-contact zones or high-heat areas. Do not treat cutting surfaces or the inside of pans.
One-Minute Method: Step by Step for a Mirror Finish
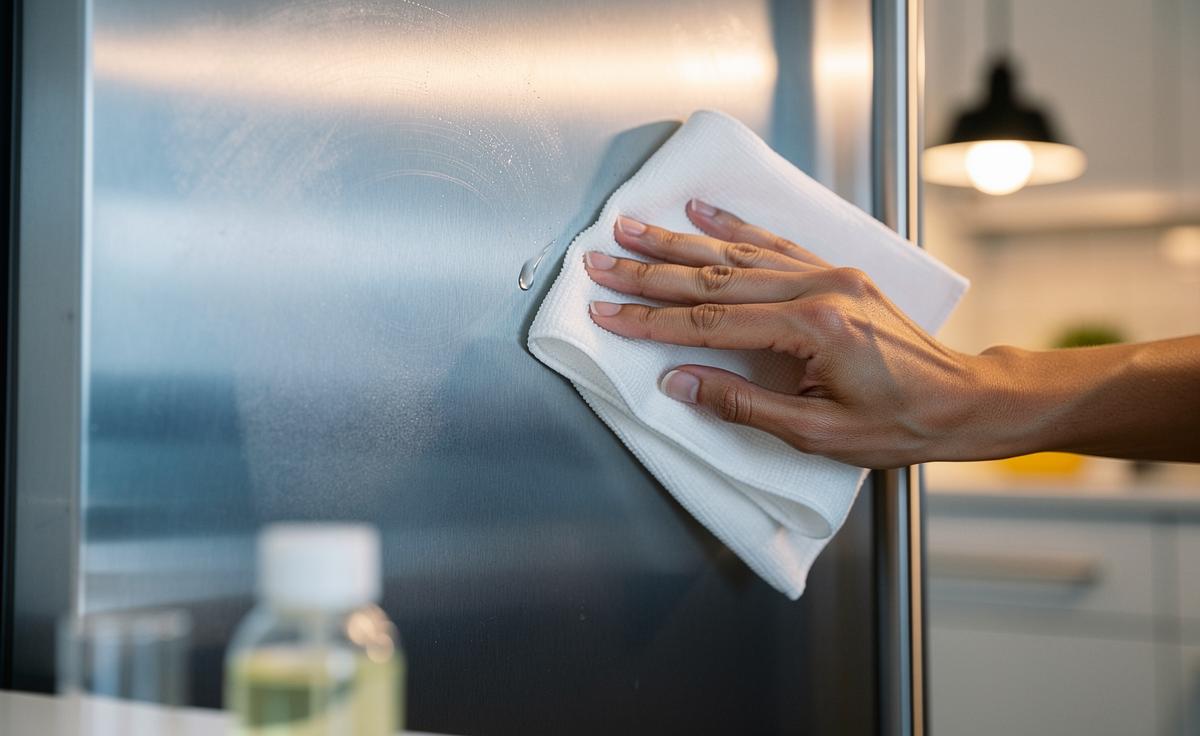
Speed comes from preparation and a light touch. Start by removing grit with a warm, slightly soapy microfibre cloth; rinsing and drying stops hidden suds from smearing later. Put a pea-sized dot of baby oil onto a clean microfibre or soft cotton pad—never directly on the steel. With brisk, straight strokes, follow the grain from top to bottom. The goal is to create an ultra-thin, even film. Immediately swap to a dry cloth and buff decisively in the same direction. Most fridge doors or splashbacks take under a minute once you’ve got the motion down.
If you’re battling old smears, reset first: a pass with isopropyl alcohol or a vinegar-and-water spritz cuts residue fast. Dry thoroughly, then oil. For handles and high-touch areas, go even lighter on the product to keep slip at bay. When you see a crisp reflection and no rainbowing under bright light, you’re done. The finish should feel dry, not tacky. If it feels greasy, you’ve used too much—buff again. A tiny top-up on a fingertip sorts stubborn corners by hinges and nameplates.
| Step | What to Use | Time | Key Tip |
|---|---|---|---|
| Clean | Warm water + mild soap | 20–30 sec | Remove grit to prevent scratches |
| Dry | Dry microfibre | 10 sec | Wet steel smears under oil |
| Apply | Pea of baby oil on cloth | 15–20 sec | Wipe with the grain |
| Buff | Fresh dry cloth | 15–20 sec | Thin film, glossy reflection |
Troubleshooting, Safety, and Smart Alternatives
Streaks signal over-application. Hit the surface with a dry cloth and buff harder, or reset with a little alcohol and start again. Cloudiness under strong light? Residual detergent—reclean and fully dry. Hard-water marks can etch; a pre-wipe with diluted white vinegar lifts mineral spots before you oil. On heavily brushed finishes, shorter strokes reduce the risk of cross-sheen. For doors prone to tiny lint trails, switch to a tighter-weave microfibre and fold it frequently to expose a clean edge.
Safety is simple but non-negotiable. Keep oil off floors—slip hazard. Avoid food-contact areas and active hob zones; while mineral oil has a high flash point, heat and residue don’t mix well in busy kitchens. If you’re sensitive to fragrance, choose an unscented baby oil or pure, cosmetic-grade white mineral oil. Some prefer food-safe alternatives—fractionated coconut oil, for instance—but they can polymerise or go tacky faster. Dedicated stainless cleaners work too, yet often at a higher cost and with stronger solvents.
Budget and sustainability tip: a single 200 ml bottle can last months because you need so little. Decant a few drops into a cap for each session to control quantity and cut waste. If oil traces persist on handles, finish with a quick buff using a slightly damp cloth to keep grip crisp. When used sparingly and smartly, this is a one-minute maintenance routine that keeps appliances showroom-sharp between deeper cleans.
In a world of specialty sprays and miracle wipes, this quiet classic still earns its keep: a tiny dab of baby oil, a clean cloth, and disciplined strokes along the grain. The payoff is immediate, the cost negligible, the result striking. Your stainless looks newer, feels smoother, and resists marks for longer. Next time fingerprints bloom on the fridge or the cooker hood dulls, will you reach for another bottle—or try this one-minute, low-tech sheen that professionals rely on? What surface in your kitchen will you revive first?
Did you like it?4.3/5 (24)