In a nutshell
- 🥖 Flour adsorbs and encapsulates grease, turning slippery oil into crumbly clumps for easy lift-off—think friction over smearing and quick control without harsh solvents.
- 🧼 Fresh spill method: switch off heat, never add water, dust generously with flour, wait 1–3 minutes, scrape toward the centre, and bin safely; do not vacuum oily flour, finish with a light detergent wipe.
- 🧪 For set or baked-on grease: pre-warm gently, preload with flour, then use a flour poultice (optionally with bicarbonate of soda) to lift oxidised fats; repeat brief dwells rather than forcing the surface.
- 🧯 Surface smarts: effective on stainless steel, sealed stone, enamel, and cold glass hobs; limited on unsealed wood; avoid electronics, vents, and open flames; never send oily flour down the sink—dispose in household waste.
- 🌍 Practical benefits: a cheap, low-odour, eco-friendlier alternative to strong degreasers, kinder to finishes and faster for everyday messes—making flour-first a stress-free kitchen staple.
Kitchen spills don’t wait for a quiet moment, and neither does the dread of slick oil across a worktop or floor. Here’s a calmer way. Reach for plain flour. This humble bag transforms a glossy, slippery film into a crumbly, brushable mass that won’t skate under your shoes. It’s inexpensive, gentle on many surfaces, and kinder to the planet than harsh solvents that leave an acrid odour. The method is quick, too, so you can return to the recipe—or the school run—without fuss. Dry flour turns chaos into control in seconds, making stress-free grease removal a matter of sprinkle, wait, and lift.
Why Flour Defeats Grease
Grease is stubborn because it’s hydrophobic. Water beads, smears, and spreads it around. Flour, by contrast, is dry, powdery, and full of microscopic starch granules with a huge collective surface area. Those granules grab onto oil through adsorption and mild encapsulation, turning a viscous liquid into a friable, semi-solid that’s easy to sweep or scrape away. In practical terms, you’re converting slip into grip.
There’s useful physics at play. Fine particles increase friction, so the mix of flour and oil behaves like damp sand rather than treacherous syrup. The roughness of the flour matrix traps droplets, creating clumps that lift whole rather than smearing. Because flour is neutral, it won’t etch metal or cloud glass, and it’s gentle enough for sealed stone, enamel, and stainless steel. Better still, it buys you time. A quick dusting stops a spill spreading while you shut off the hob or fetch a scraper.
Importantly, flour acts as a dry binder. That’s why it excels on fresh spills and thin films: it captures oil before heat or oxidation polymerises it into sticky varnish. When you keep water out of the equation at the start, clean-up gets dramatically easier.
Step-By-Step Method for Fresh Spills
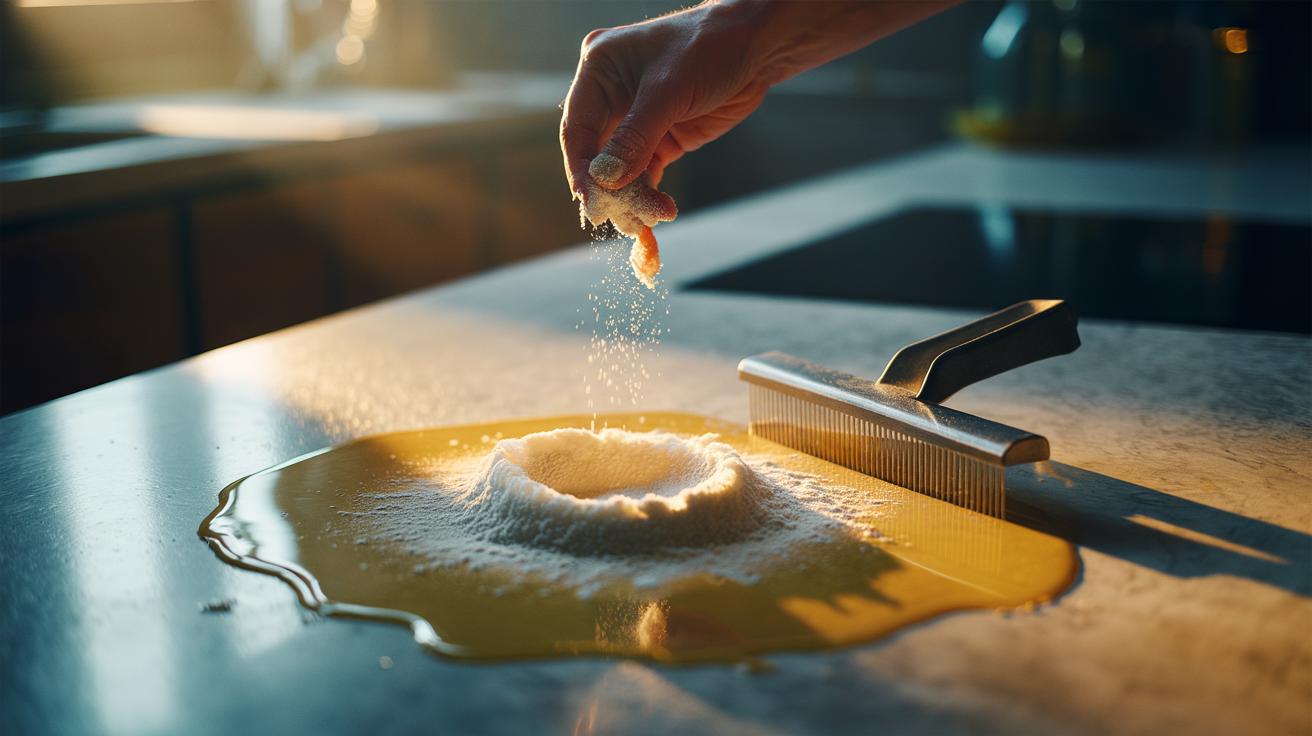
First, stay safe. Kill the heat, keep pets away, and let hot pans cool a touch. Don’t add water. Water spreads oil and invites burns. Instead, shake a generous snowfall of plain flour over the entire slick, right to the edges. Aim to cover until you no longer see a high gloss; the surface should look matte and dusty. Wait one to three minutes while the flour draws oil into a soft crust. On floors, that instant matte finish also restores traction.
Now, consolidation. Use a stiff piece of card, a bench scraper, or a wide spatula to gather the damp flour into a heap. Work from the perimeter inward so you’re not pushing oil outward. Lift carefully into a lidded bin liner or old takeaway tub. For crevices or hob trims, tap more flour with a dry pastry brush, then sweep again. Do not vacuum oily flour; it can gum filters and carry odours.
Finish with a hot cloth and a drop of washing-up liquid to cut any faint film, then buff dry with a microfibre cloth. On wood, dry thoroughly to avoid swelling. On stainless steel, wipe with the grain for a streak-free sheen. If a hint of residue remains, another light dusting of flour followed by a quick wipe usually perfects it. Sprinkle, settle, scrape, and polish—four steps, no drama.
Tackling Set, Sticky, or Baked-On Grease
Old grease needs coaxing. Start by softening it. Warm the area gently—low oven setting for racks, a hairdryer on cool-warm for hoods or tiles, or simply run the pan a minute on low heat. You want pliable, not scorching. Dust a thin coat of flour and press lightly with kitchen roll to preload the surface. Then make a poultice: mix flour with a splash of washing-up liquid and warm water to a peanut-butter consistency. Spread 2–3 mm thick over the patch. Give it time to work—10 to 20 minutes transforms the job.
Lift the poultice with a scraper; it should peel off, taking oxidised oils along. For ovens and enamel trays, a 1:1 blend of flour and bicarbonate of soda makes a mildly alkaline paste that breaks down polymerised fats without caustic fumes. On a glass hob (stone-cold), use the same paste, but scrape with a plastic blade to avoid scratches. Rinse, then buff dry.
Wood demands care. Test in an inconspicuous spot, work with the grain, and avoid over-wetting. If a shadow remains, repeat a short dwell rather than forcing it. On cast iron, use flour for the mess, then re-season quickly to replace any stripped oil. The secret with set grease is patience and gentle repetition, not brute force.
Where Flour Works—and Where It Doesn’t
Most domestic surfaces benefit from a flour-first approach, but there are sensible limits. It’s brilliant on stainless steel splashbacks, stone worktops that are sealed, tiles, enamel, and cooled hob glass. It is helpful on sealed wood and laminate if you act before oil soaks in. Where the method falters is where heat, moisture, or electronics complicate the picture. Don’t dust flour near open flames, live sockets, or moving parts.
| Surface | Works Well? | Notes |
|---|---|---|
| Stainless steel | Yes | Wipe with the grain; finish with a microfibre buff. |
| Sealed stone (granite, quartz) | Yes | Keep dry at first; avoid pushing flour into unsealed pores. |
| Unsealed wood | Limited | Act fast; spot test; don’t over-wet during final wipe. |
| Glass hob (cold) | Yes | Use plastic scraper; never on a hot surface. |
| Fabric/upholstery | No/limited | Blot first; consider cornflour; vacuum thoroughly afterwards. |
| Electronics/vents | No | Use specialised wipes; keep flour away from fans and keyboards. |
| Active cooktops & flames | No | Switch off and cool before dusting flour. |
Dispose of oily flour in household waste, not down the sink, where it can congeal and contribute to fatbergs. If pests are a concern, seal the waste and take out promptly. After deep cleans, restore protection: re-seal porous stone as per manufacturer guidance, or re-season cast iron. A tiny smear persisting? Repeat a short flour poultice rather than escalate to harsh chemicals. Flour is a first responder, not a flamethrower, and its quiet effectiveness keeps kitchens cleaner without the headache of fumes or the faff of multiple specialist products.
In a world of neon sprays and single-use wipes, the quiet power of flour feels almost subversive. It’s cheap, effective, and already on the shelf, ready to turn a slippery crisis into a two-minute tidy. Use it fast for fresh spills, patiently for set grease, and thoughtfully where materials vary—and you’ll save time, money, and surfaces. One bag, dozens of rescues. Which greasy nuisance in your home would you most like to tame with this simple, flour-first strategy, and what surface are you planning to try it on next?
Did you like it?4.4/5 (25)